How a Wall Mount Arm Lamp Can Revolutionize Your Home Lighting
Introduction
Are you tired of not having enough light in your living space? Or perhaps you’re just looking for a way to add some style to your home decor? If so, a wall mount arm lamp may be the solution you’re looking for. These lamps are versatile, easy to install, and offer a range of benefits for your home lighting needs.
The Benefits of Using a Wall Mount Arm Lamp
1. Increased Lighting Control
One of the biggest advantages of a wall mount arm lamp is the level of control it provides when it comes to lighting. With an adjustable arm, you can direct light exactly where you need it, whether that’s over a reading chair or onto a piece of artwork on the wall. This is especially useful in larger rooms where a single overhead light might not provide enough coverage.
2. Space-Saving Design
Another benefit of these lamps is the design itself. Wall mount arm lamps are attached directly to the wall, freeing up valuable floor and table space for other furniture or decor items. This makes them ideal for small apartments or homes where space is at a premium.
3. Versatile Style Options
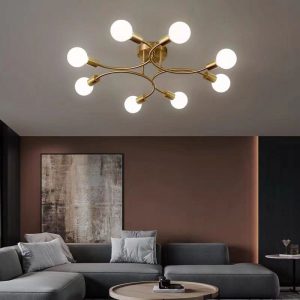
Wall mount arm lamps come in a range of styles, from modern and sleek to more traditional and classic. This means that no matter what your home decor style is, you can find a lamp that complements it perfectly. Additionally, many lamps come with different finishes, such as brass or nickel, so you can further customize your lighting to fit your preferences.
Installing a Wall Mount Arm Lamp
1. Choose the Right Location
Before installing your lamp, you’ll need to decide where to place it. Consider the purpose of the lamp and the layout of the room. You’ll want to choose a location that provides the best light coverage while also not interfering with any other furniture or accessory placement.
2. Mark the Spot
Once you’ve determined the perfect spot for your lamp, use a pencil to mark where the base will be installed. Be sure to measure and check your markings twice to ensure the lamp will be level and secure.
3. Install the Base
Next, using a drill and screws, attach the base of the lamp to the wall at the marked spot. Be sure to use the proper hardware based on the wall material (i.e. screws and anchors for drywall).
4. Attach the Lamp Arm and Shade
Once the base is securely in place, attach the arm and shade to the base using the provided hardware. Make sure everything is level and secure before turning on the lamp for the first time.