Shining a Light on Built-In Ceiling Illumination
Introduction
Ceiling lights built in are a popular choice for both residential and commercial spaces. They offer a sleek and modern look while providing ample illumination. In this article, we will explore the benefits, types, and installation process of built-in ceiling lights.
Benefits of Ceiling Lights Built In
One of the main benefits of built-in ceiling lights is their aesthetic appeal. They offer a clean and seamless look that complements any room decor. Additionally, they are versatile and can be used in a variety of spaces, from hallways and kitchens to living rooms and bedrooms.
Another benefit of using built-in ceiling lights is their energy efficiency. LED bulbs, which are commonly used in these types of fixtures, are much more energy-efficient than traditional incandescent bulbs. This means that not only will you save money on your energy bills, but you’ll also help the environment by reducing your carbon footprint.
Types of Ceiling Lights Built In
Built-in ceiling lights come in a range of sizes, shapes, and designs. Here are some of the most common types of built-in ceiling lights:
Recessed Lighting
Recessed lighting features a light fixture that is installed inside the ceiling, with only the trim visible. They provide a clean, unobtrusive look and can be used to create a warm, cozy feel in a room. Recessed lighting is commonly used in kitchens and bathrooms.
Flush-Mount Lighting
Flush-mount lighting is a type of built-in ceiling light that sits flush with the ceiling surface. They offer a compact and low-profile look that is ideal for small spaces or low-ceiling areas. Flush-mount lighting is commonly used in hallways, closets, and small bedrooms.
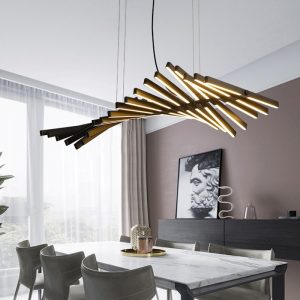
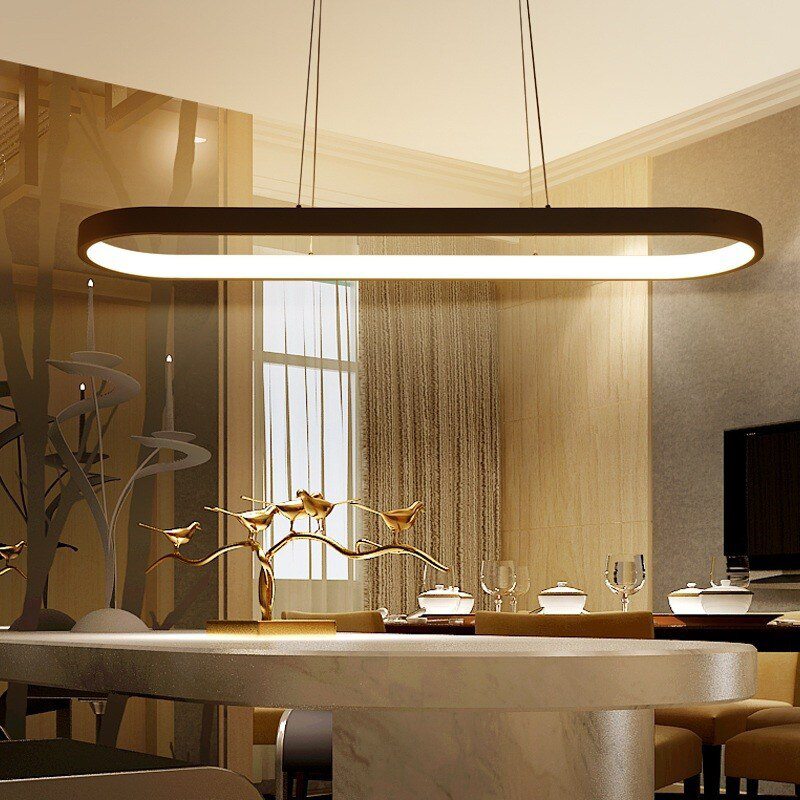
Pendant Lighting
Pendant lighting features a suspended light fixture that hangs from the ceiling by a cord, chain, or rod. They offer a stylish and modern look and can be used to create a focal point in a room. Pendant lighting is commonly used in dining rooms, foyers, and living rooms.
Installation Process
Installing built-in ceiling lights can be a challenging task, especially if you’re not familiar with electrical work. It’s recommended that you hire a licensed electrician to install your fixtures for safety and reliability.
Here are the basic steps involved in installing built-in ceiling lights:
Step 1: Turn off the power
Before you begin any electrical work, it’s important to turn off the power to the area where you’ll be working. This can be done at the main electrical panel or by turning off the circuit breaker that controls the area.
Step 2: Prepare the ceiling
Depending on the type of built-in ceiling light you’ve chosen, you may need to create a hole in the ceiling to accommodate the fixture. This can be done using a drywall saw or a hole saw, depending on the size of the fixture.
Step 3: Install the fixture
Once the hole is created, you can install the fixture into the ceiling. This may require some electrical wiring and a mounting bracket to secure the fixture.
Step 4: Attach the trim
For recessed lighting and flush-mount lighting, the trim is attached to the fixture after it’s installed. For pendant lighting, the trim is often included with the light fixture.